When and How to Repot A ZZ Plant? Tips to Get more Benefits
If you’ve been wondering when and how to repot your ZZ plant, you’re in the right place. Even though ZZ plants are known for being tough and low-maintenance, they do need the occasional repotting to stay healthy and thrive. You might be thinking, “Is it time for a new pot?” or “How can I repot without harming my plant?” Don’t worry, You will do it all without stressing your plant out. Ready to give your ZZ plant the care it deserves? Keep reading, and let’s repot like pros!
Qucik Answer
Is your ZZ plant outgrowing its pot? It’s time to give it a fresh start! Repot in spring or early summer for a healthier, happier plant that thrives in its new space!
what is a ZZ Plant?
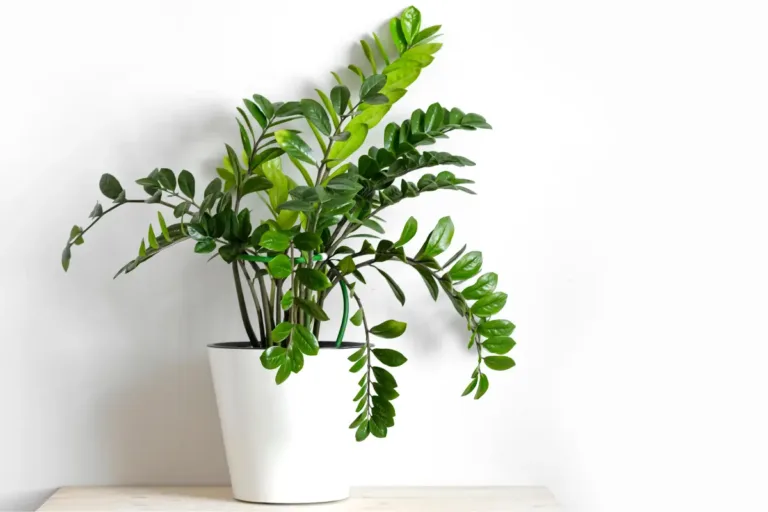
ZZ plants (Zamioculcas zamiifolia) are known for their striking zigzagged leaves and resilience. Native to Eastern Africa, these hardy plants can survive in tough, desert-like conditions by storing water in their rhizomes. While they grow more slowly indoors, ZZ plants can still reach heights of 3-4 feet. loving your ZZ plant health and thriving, proper care is essential, especially when it comes to repotting. Wondering when and how to do it? Keep reading to learn the simple steps that will help your ZZ plant flourish!
Signs That Your Zee Zee Plant Needs a New Pot
Roots Visible or Circling: If you see roots peeking out at the surface or growing out of the drainage holes, it’s time for more space.
Water Runs Straight Through: If watering seems ineffective and water just rushes through the soil without soaking in, your plant is likely root-bound.
Wobbly or Cracked Pot: A pot that’s cracking or wobbling due to stressed roots means your ZZ plant needs a new home.
Slowed Growth or Pale Leaves: If your plant has stopped growing, or its leaves are turning yellow or limp, it’s begging for a repot.
Compacted Soil: If the soil is compacted and water just runs off, it can’t hold moisture properly, signaling it’s time to repot.
Misshapen Nursery Pot: If the plastic pot is deformed or misshapen due to roots pushing against the sides, your plant is outgrowing its space.
Visible Rhizomes: If the large, potato-like rhizomes start showing through the soil surface, it’s a clear sign they need more room.
Nutrient Depletion: If your ZZ plant isn’t thriving despite regular care, the soil may be depleted of nutrients, signaling it’s time to refresh with fresh soil during a repot.

Perfect Time for Repotting
Best Time – Spring or Early Summer: The most ideal time to repot your ZZ plant is during its active growth period—spring or early summer. This allows your plant to bounce back quickly and adjust to its new pot before the colder months set in.
Avoid Winter Repotting: Winter is when your ZZ plant is dormant. Avoid repotting during this time, as it can slow down recovery and delay new growth.
Climate Matters: If you live in a warmer climate, you have a bit more flexibility. Early fall can also work for repotting, but don’t wait until temperatures start dropping too much.
Repot Every 2-3 Years: ZZ plants are slow growers, so they don’t need frequent repotting. Aim to repot every 2-3 years or when you notice it outgrowing its pot or becoming root-bound.
Pot Size: Choose a new pot that’s just 1-2 inches larger in diameter than the current one. A pot that’s too large can lead to overwatering issues and stress the plant.
Use Fresh Potting Mix: Always use fresh, well-draining potting soil. This provides your ZZ plant with the nutrients it needs for healthy growth and helps prevent root rot.
Watch for Signs: If you notice roots peeking out of the drainage holes, slow growth, or your plant leaning to one side, it’s time to repot. These are signs it’s feeling cramped and needs more space to thrive.
How to Properly Repot Your ZZ Plant
Choose the Right Time
Repot your ZZ plant during its active growing season—preferably in spring or early summer. This helps the plant recover faster.
Select the Right Pot
Choose a pot that’s 1-2 inches larger in diameter than the current one. Avoid going too big to prevent water retention issues. Make sure it has drainage holes to prevent root rot.
Prepare the Soil
Use a well-draining mix. Add perlite or sand to improve drainage, which is key for preventing root rot. The ideal pH should be between 6.0-7.0. Moisten the soil slightly before use.
Gather Your Tools
Wear gardening gloves to protect your hands from the ZZ plant’s toxic sap. Have a sterilized knife or pruners ready to prune any damaged roots.
Water the Plant Before Repotting
Water your ZZ plant a few days before repotting. This makes it easier to remove the plant and helps hydrate the roots for the transplant.
Remove the Plant from the Old Pot
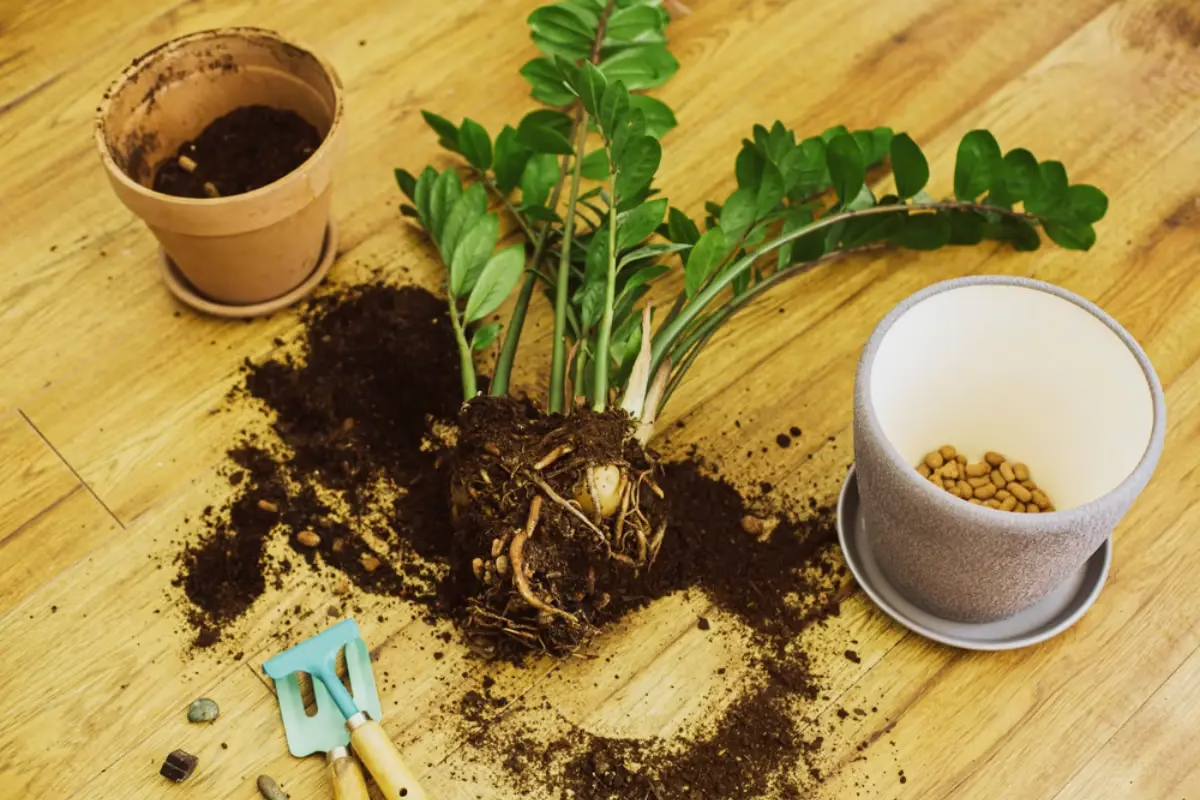
Gently tip the plant out of its pot. If it’s root-bound, you may need to cut the pot or loosen the soil around the edges to remove it.
Inspect and Prune the Roots
Check the roots for any signs of rot or damage. Trim off any dead or mushy roots with sterilized scissors. If the roots are circling the pot, loosen them carefully.
Prepare the New Pot
Fill the new pot about 1/3 full with fresh soil. Place the plant in the center of the new pot, ensuring the rhizome is positioned at the same depth as it was in the old pot.
Fill in the Soil
Add more soil around the plant, gently pressing it down to secure the plant. Leave about 1 inch of space from the rim of the pot to allow for watering.
Water Thoroughly
After repotting, water your plant thoroughly until water flows out of the drainage holes. This helps settle the soil and ensure proper hydration.
Avoid Overpotting
Don’t go too big with the pot size. Larger pots hold excess moisture, which can suffocate the roots and lead to root rot.
Monitor for Stress
After repotting, your ZZ plant may show signs of transplant shock. Be patient, as it should bounce back within a few weeks.
Extra Tips to Keep in Mind:
Avoid Repotting in Winter: Repotting during winter, when the plant is dormant, slows down recovery.
Terracotta Pots: They are ideal for ZZ plants as they allow soil to breathe and dry out faster compared to plastic.
Divide if Necessary: If the plant is overcrowded, you can divide the rhizomes to propagate new ZZ plants.

Essential Aftercare Tips
Acclimating Your ZZ Plant
After repotting, give your ZZ plant a break from direct sunlight. Place it in bright, indirect light for the first week to help it adjust. Think of it as a peaceful retreat, where harsh conditions are off-limits.
Watering Adjustments
Post-repotting, your watering routine needs fine-tuning. Let the soil dry slightly between waterings, but don’t let it dry out completely. Finding the balance is key—too much water can lead to root rot, while too little can stress your plant.
Monitoring for Stress
Look out for droopy leaves or a sad demeanor—your plant may be feeling stressed. If this happens, don’t panic. Adjust your care, and give it some extra TLC. Remember, your plant might be dramatic during this period of change.
Ensuring Good Airflow
A steady flow of fresh air is crucial for your ZZ plant. Stagnant air can cause problems, so consider using a fan on low to keep things breezy. A little wind in its leaves can go a long way in boosting its recovery.
Dealing with Leaf Changes
It’s normal for some leaves to fall off after repotting. If you see yellow or damaged leaves, gently snip them away. It’s like giving your plant a little haircut to encourage fresh growth.
The Waiting Game
Patience is essential. Your ZZ plant won’t recover overnight—it’s a gradual process. Give it the time it needs to adjust to its new home, and soon enough, you’ll see it thriving again.
Key Reminders for Your ZZ Plant’s Transition
Light: Bright, indirect light is ideal to avoid shock and leaf burn.
Watering: Stick to a consistent watering schedule, keeping the soil moist but not soggy.
Avoid Feeding: The new soil already contains nutrients. Adding fertilizer too soon can harm your plant.
Environment: Keep your ZZ plant in a stable, temperature-controlled environment to reduce stress.
By following these simple aftercare steps, your ZZ plant will settle into its new home and start growing strong again in no time!
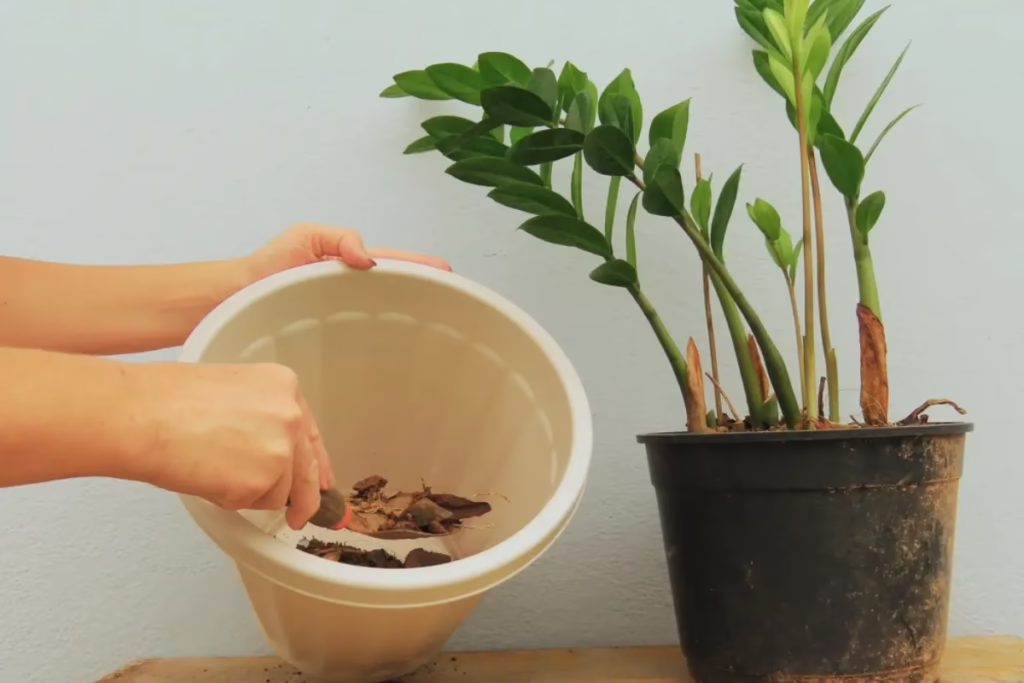
Benefits of Repotting
Repotting your ZZ plant isn’t just about upgrading its living space—it’s about giving your plant a fresh start, promoting healthy growth, and preventing common problems like root rot. Here’s why repotting is essential:
Health and Growth Boost
Repotting gives your ZZ plant room to stretch its roots and grow stronger. A bigger pot means more space for the roots to expand, leading to a healthier plant with vibrant, new growth. It’s not just about size—it’s about vitality.
Nutrient Recharge
Think of repotting as a buffet for your plant. Fresh soil provides nutrients that old, depleted soil can’t. Your ZZ plant will thrive in this new environment, growing lush, green leaves and becoming more resilient.
Preventing Root Rot
A new pot with better drainage helps avoid the dreaded root rot. ZZ plants store water in their rhizomes, and too much moisture can lead to rot. Repotting gives the roots the space they need to stay dry and healthy.
Propagation Opportunity
Want more plants? Repotting is your chance to propagate. Mature ZZ plants often have enough rhizomes to divide and create new plants. It’s like cloning your ZZ, but naturally and easily.
Improved Well-being
Repotting doesn’t just save your plant from being cramped—it improves its overall health. Your ZZ plant will thrive in its new home, reducing stress and boosting its energy. A happy plant equals a happy plant parent!
Extra Tips for Successful Repotting
Don’t rush: If your ZZ plant is just a little pot bound, it may actually benefit from the compact space and grow more vigorously.
Use the right soil: Choose a well-draining, soilless potting mix. For better drainage, mix in perlite or orchid bark.
Avoid overwatering: ZZ plants are drought-tolerant, but ensure the soil drains well.
Propagation: If a leaf or stem breaks during repotting, don’t panic! You can propagate it in water or soil to create a new ZZ plant.
Drainage: Always use a pot with drainage holes to prevent water buildup and root rot.
Repotting isn’t just a task—it’s a chance to give your ZZ plant a new lease on life. Whether you’re boosting its growth or creating new plants, this simple step can make a big difference in your plant’s health and happiness.
Final Thoughts
In conclusion, repotting your ZZ plant at the right time—usually in mid-spring or early summer—is a simple yet powerful way to boost its health and vitality. By watching for signs like cracked pots, slow growth, or roots escaping, you can easily identify when it’s time for a new home. With the right steps, including proper watering, lighting, and patience, your plant will quickly adapt and thrive in its fresh space. Remember, you’re not alone in this—following these simple guidelines will ensure your ZZ plant continues to grow strong and healthy for years to come. You’ve got this!

